Images and the Éclair media library
Contents
The Éclair media library stores all your site's images and optimizes them on upload: resizing, WebP conversion and removal of location data. This lesson teaches you to upload your photos, describe them for Google and accessibility, then place them in your pages, your posts and your header.
What you'll be able to do
Upload your photos
Drag and drop one or more images, from Media or from the editor.
Keep your site fast
Understand what Éclair does with each image so it stays light.
Describe your images well
Write useful alt text, by hand or with AI.
Upload your images to the Éclair media library
- Click Media in the side menu.
- Drag your files onto the Drag your images here or click to choose area, or click it to select them. You can upload several at once.
- Each image shows its progress as a percentage, then “Upload complete” followed by its name.
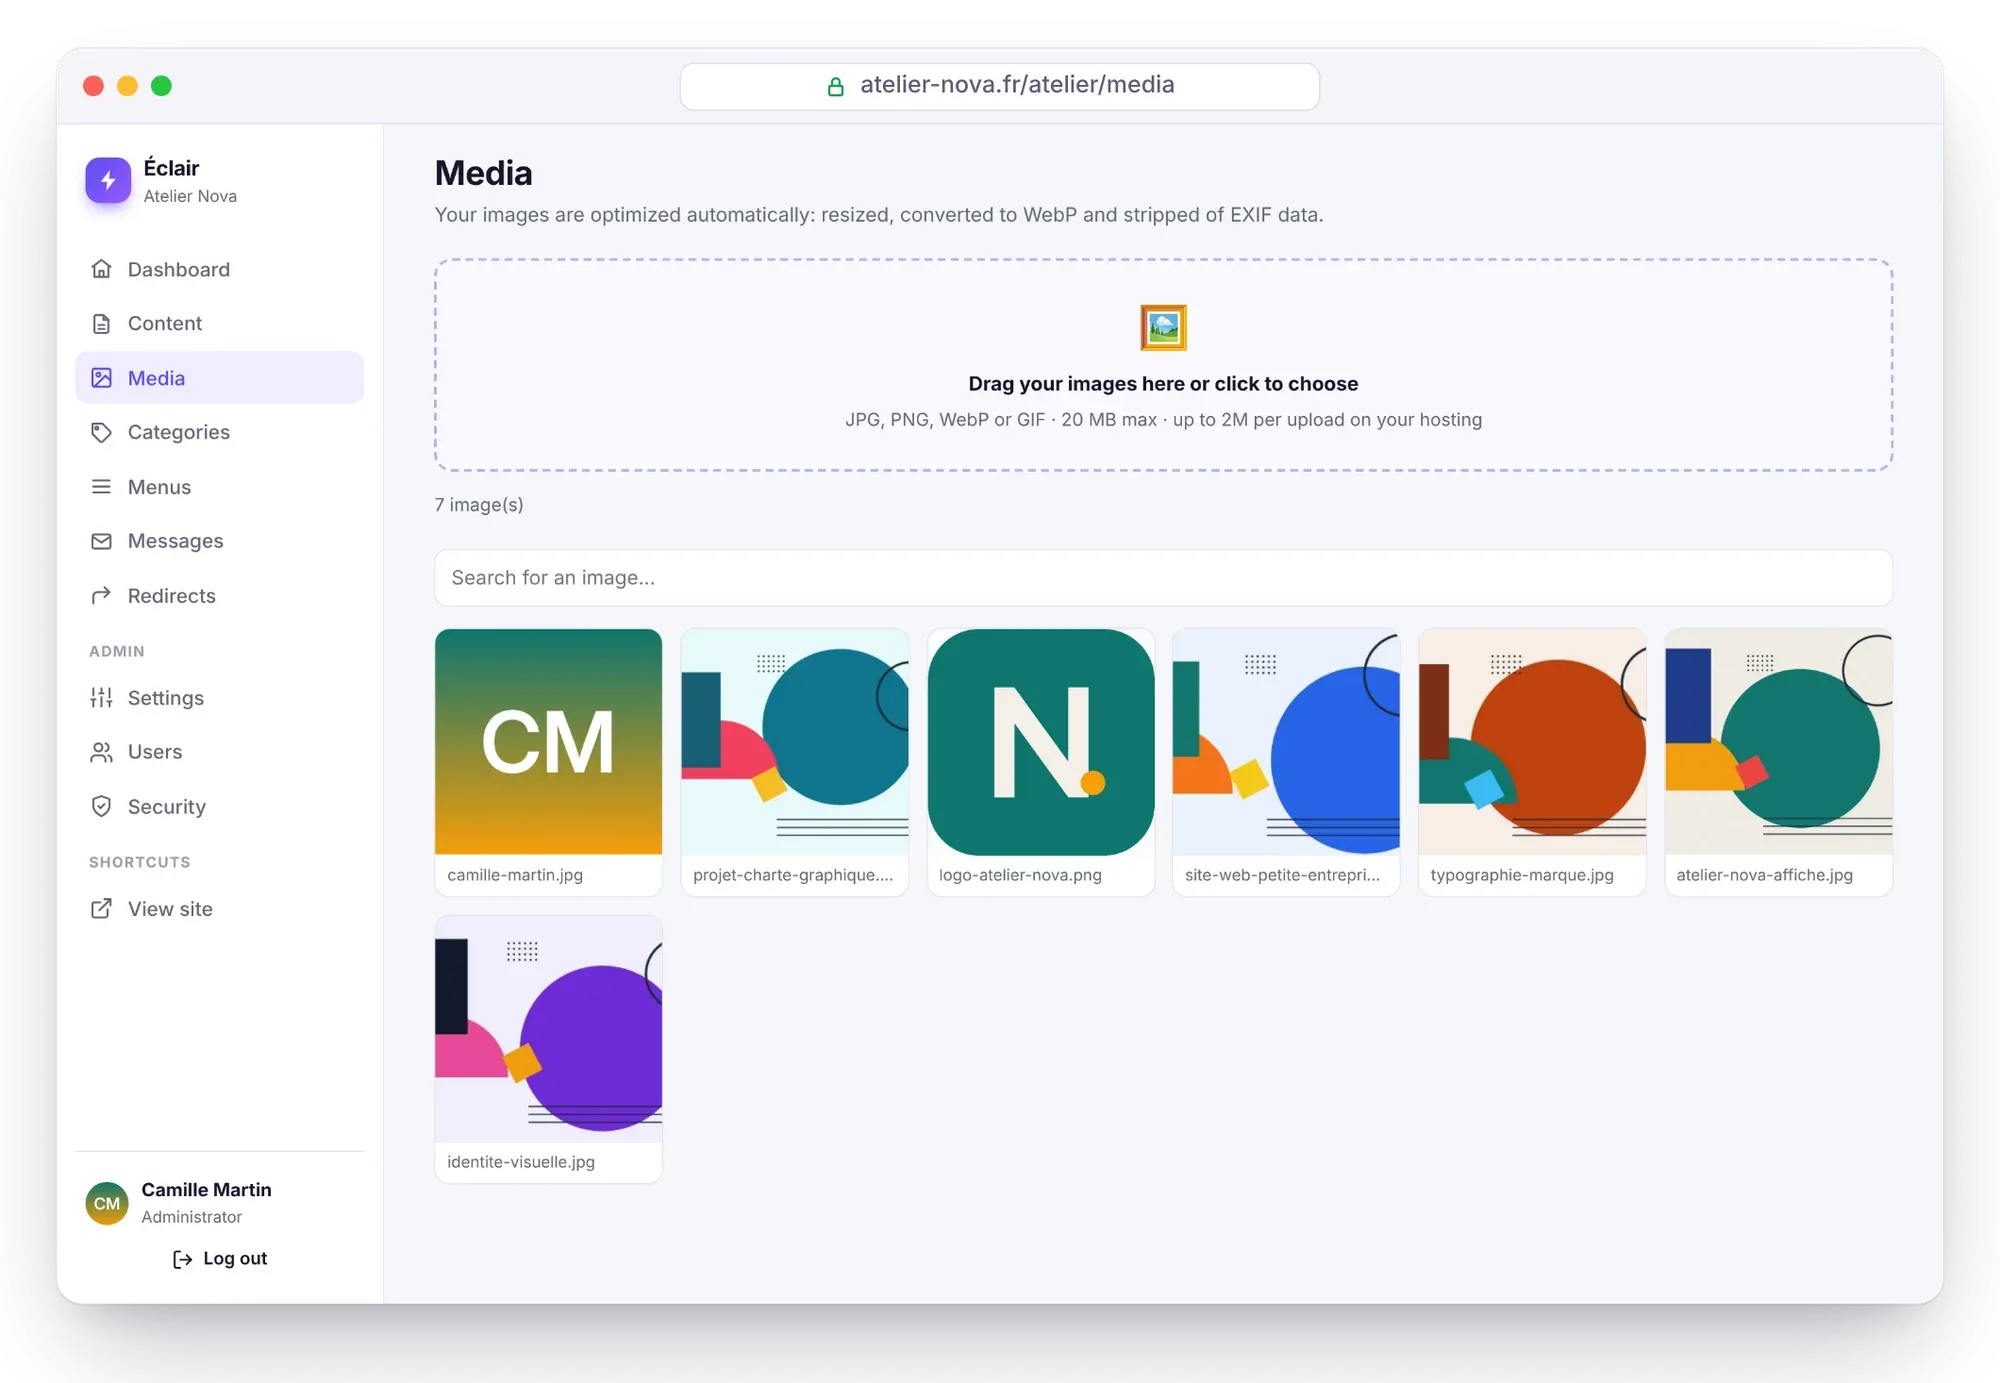
You don't need to leave the editor for this, though: the Media library window, which opens when you choose an image, has its own drop zone, and an empty Image block accepts a dragged file. The Search for an image… field filters the grid by file name or alt text.
Which formats and sizes are accepted?
| Rule | Limit | Message if refused |
|---|---|---|
| Formats | JPG, PNG, WebP, GIF | “Unsupported format: JPG, PNG, WebP or GIF only.” |
| SVG | Refused, for security | The same message |
| Weight | 20 MB per image | “Image too heavy (20 MB max).” |
| Dimensions | 40 megapixels | “Invalid or oversized image dimensions (40 megapixels maximum).” |
| Host limit | Shown below the drop zone | “File too large for your hosting” |
Watch out for the most common trap: your host also sets a maximum size per upload, sometimes below 20 MB. Éclair shows it below the drop zone: in the screenshot above, “up to 2M” means 2 MB per upload, and a 5 MB photo would be refused there. On small hosting, a very large photo can also exceed the available memory: Éclair then asks you to shrink it to under 4000 pixels wide.
What Éclair does with each image
With PHP's GD extension (the setup wizard checks that it's there), each upload goes through four steps:
- Re-encoding: the image is rewritten entirely, which removes hidden payloads and EXIF data, GPS coordinates included. An image that contains code is refused.
- Resizing: 2000 px wide at most.
- WebP versions: 480, 800, 1200 and 1600 px, only those smaller than your image, plus a full-size WebP version.
- Optimized display: explicit dimensions (the page doesn't jump while loading), lazy loading and priority given to the main image.
Example: Camille uploads a 3000 × 2000 pixel photo taken with her phone. Éclair scales it down to 2000 × 1333, erases its GPS coordinates and creates WebP versions at 480, 800, 1200, 1600 and 2000 px. Each visitor downloads the version suited to their screen, never the original of several megabytes.
Animated GIFs are kept, cleaned block by block. Without the GD extension, images stay as they are: a banner tells you so in Media, and it's best to compress them before uploading.
Write good alt text
Alt text describes the image for people with visual impairments, to whom a screen reader reads it aloud, and for Google Images. In Media, click an image: the detail window shows its dimensions, its file size and its number of WebP versions. Fill in Alt text, then click Save.
| Avoid | Better |
|---|---|
IMG_2045 | Blue glazed stoneware bowl on a potter's wheel |
| “photo” | A student's hands centering a lump of clay during a class |
| “ceramics ceramics Lyon” | Atelier Nova's shop window full of vases, seen from the street |
- Images without alt text carry an orange ALT badge in the grid: you spot omissions at a glance.
- If the AI assistant is turned on, the ✨ Describe with AI button writes the text by looking at the image (Turn on the built-in AI assistant).
- Once entered in the Éclair media library, this text is used wherever the image appears. In an Image block, you can override it for a specific context; if you leave it empty, the media library's text is shown.
Place an image in a page
- In the editor, type / and choose Image.
- Click Add an image to choose from the media library, or drag a file into the block.
- Fill in Caption (optional), Alt text and, if needed, Link (optional).
- Choose the Size: Normal (the width of the text), Wide (wider than the reading column) or Small (reduced and centered).
- Later, Change image replaces the photo without recreating the block.
In Visual mode, one click on an image is enough to choose another one from the media library.
Featured image, share image, logo and icon
| Image | Where to set it | Good to know |
|---|---|---|
| Featured image | Post editor › Document › Featured image | Shown at the top of the post and on social media |
| Share image | Automatic | A 1200×630 version is generated once, from the featured image or the content's first image (at least 600 px wide) |
| Default share image | Settings › SEO | Used when content has no image |
| Logo | Settings › Appearance › Logo | PNG or WebP on a transparent background, about 400 px wide |
| Site icon (favicon) | Settings › Appearance | Square image, at least 512 px; without an icon, a lightning bolt in your color is generated |
Delete an image without breaking a page
In the Éclair media library, open the image, click Delete, then confirm. If the image is still in use, Éclair shows “This image is used here:” with the list of content and settings concerned (logo, icon, share image, profile photo), then asks “Delete anyway?”. The right habit: first replace the image wherever it's used.
Key points
- The Éclair media library accepts JPG, PNG, WebP and GIF, up to 20 MB and 40 megapixels; SVG is refused.
- With GD, each image is re-encoded without EXIF or GPS data, limited to 2000 px wide and converted to WebP from 480 to 1600 px.
- Precise alt text serves accessibility and Google Images; the ALT badge flags omissions.
- The 1200×630 share image is automatic; the logo and icon are set in Settings › Appearance.
Going further
- Create a page with AI and polish its text: Describe with AI and featured images created by AI.
- Themes and appearance: your site's logo, icon, color and fonts.
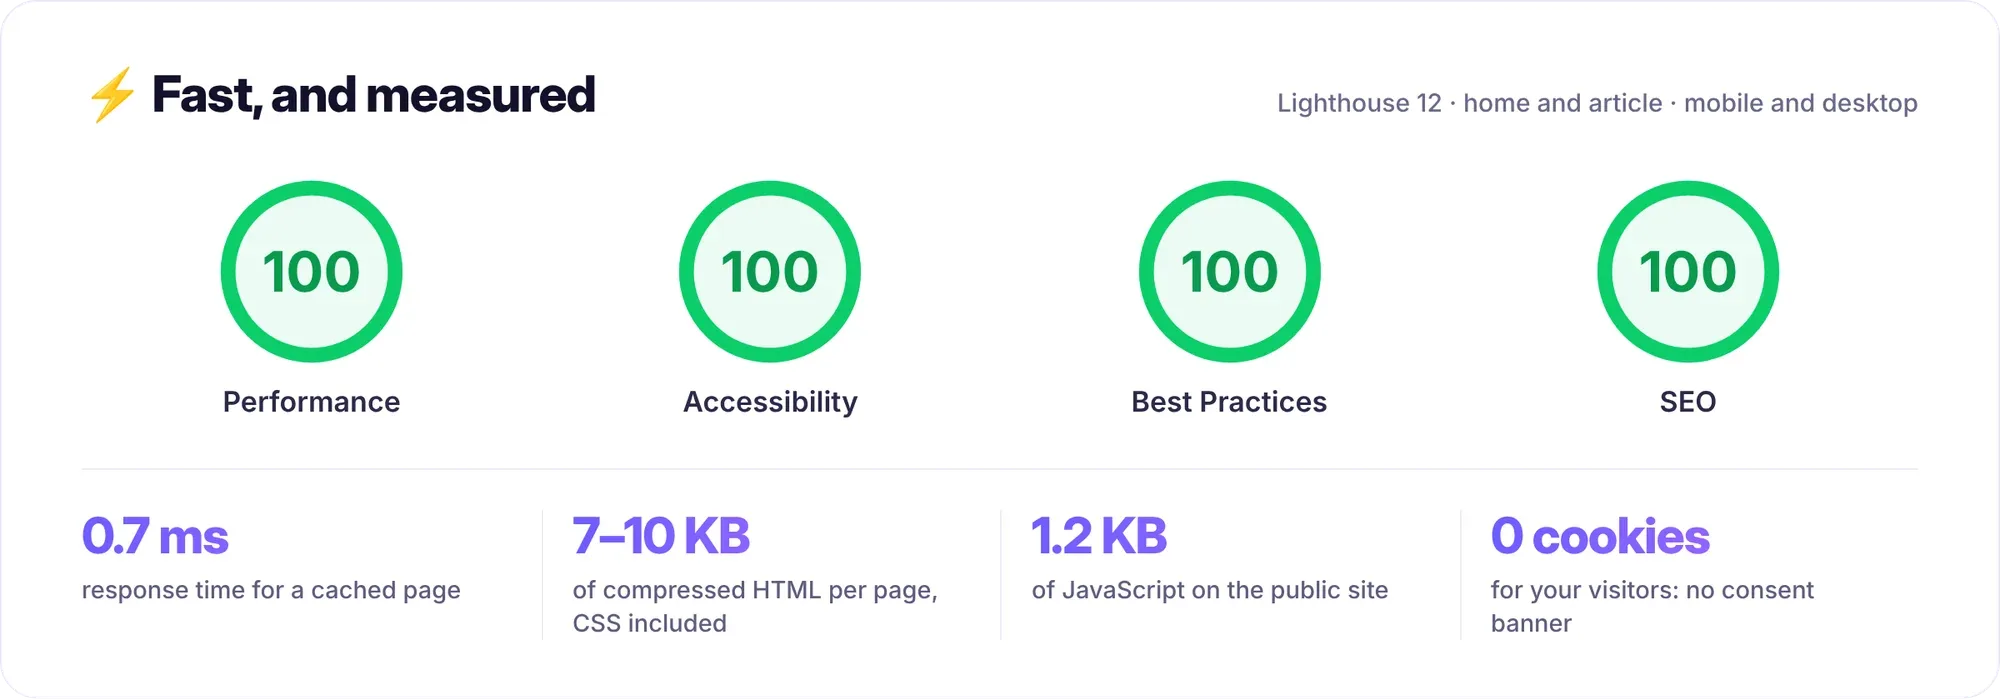
- Performance: staying at 100 out of 100: images, fonts and page weight.
- External sources: Google's image best practices and the W3C tutorial on alt text.
Frequently asked questions
Why is my SVG image refused?
For security, Éclair doesn't accept SVG, a format that can contain code. Export your logo as PNG or WebP on a transparent background, then upload it.
My 15 MB image is refused even though the limit is 20 MB. Why?
Your host sets its own limit per upload, shown below the drop zone. Shrink the image before uploading it, or ask your host whether that limit can be raised.
Should I convert my photos to WebP before uploading them?
No. Upload them as JPG or PNG: Éclair creates the WebP versions itself, if your hosting's GD extension supports that format.
Are my photos' GPS coordinates published?
No, if the GD extension is active: each image is then re-encoded on upload, which removes EXIF data, GPS included. Without GD, files stay as they are, so it's worth checking this point.